

Add and Manage Targets
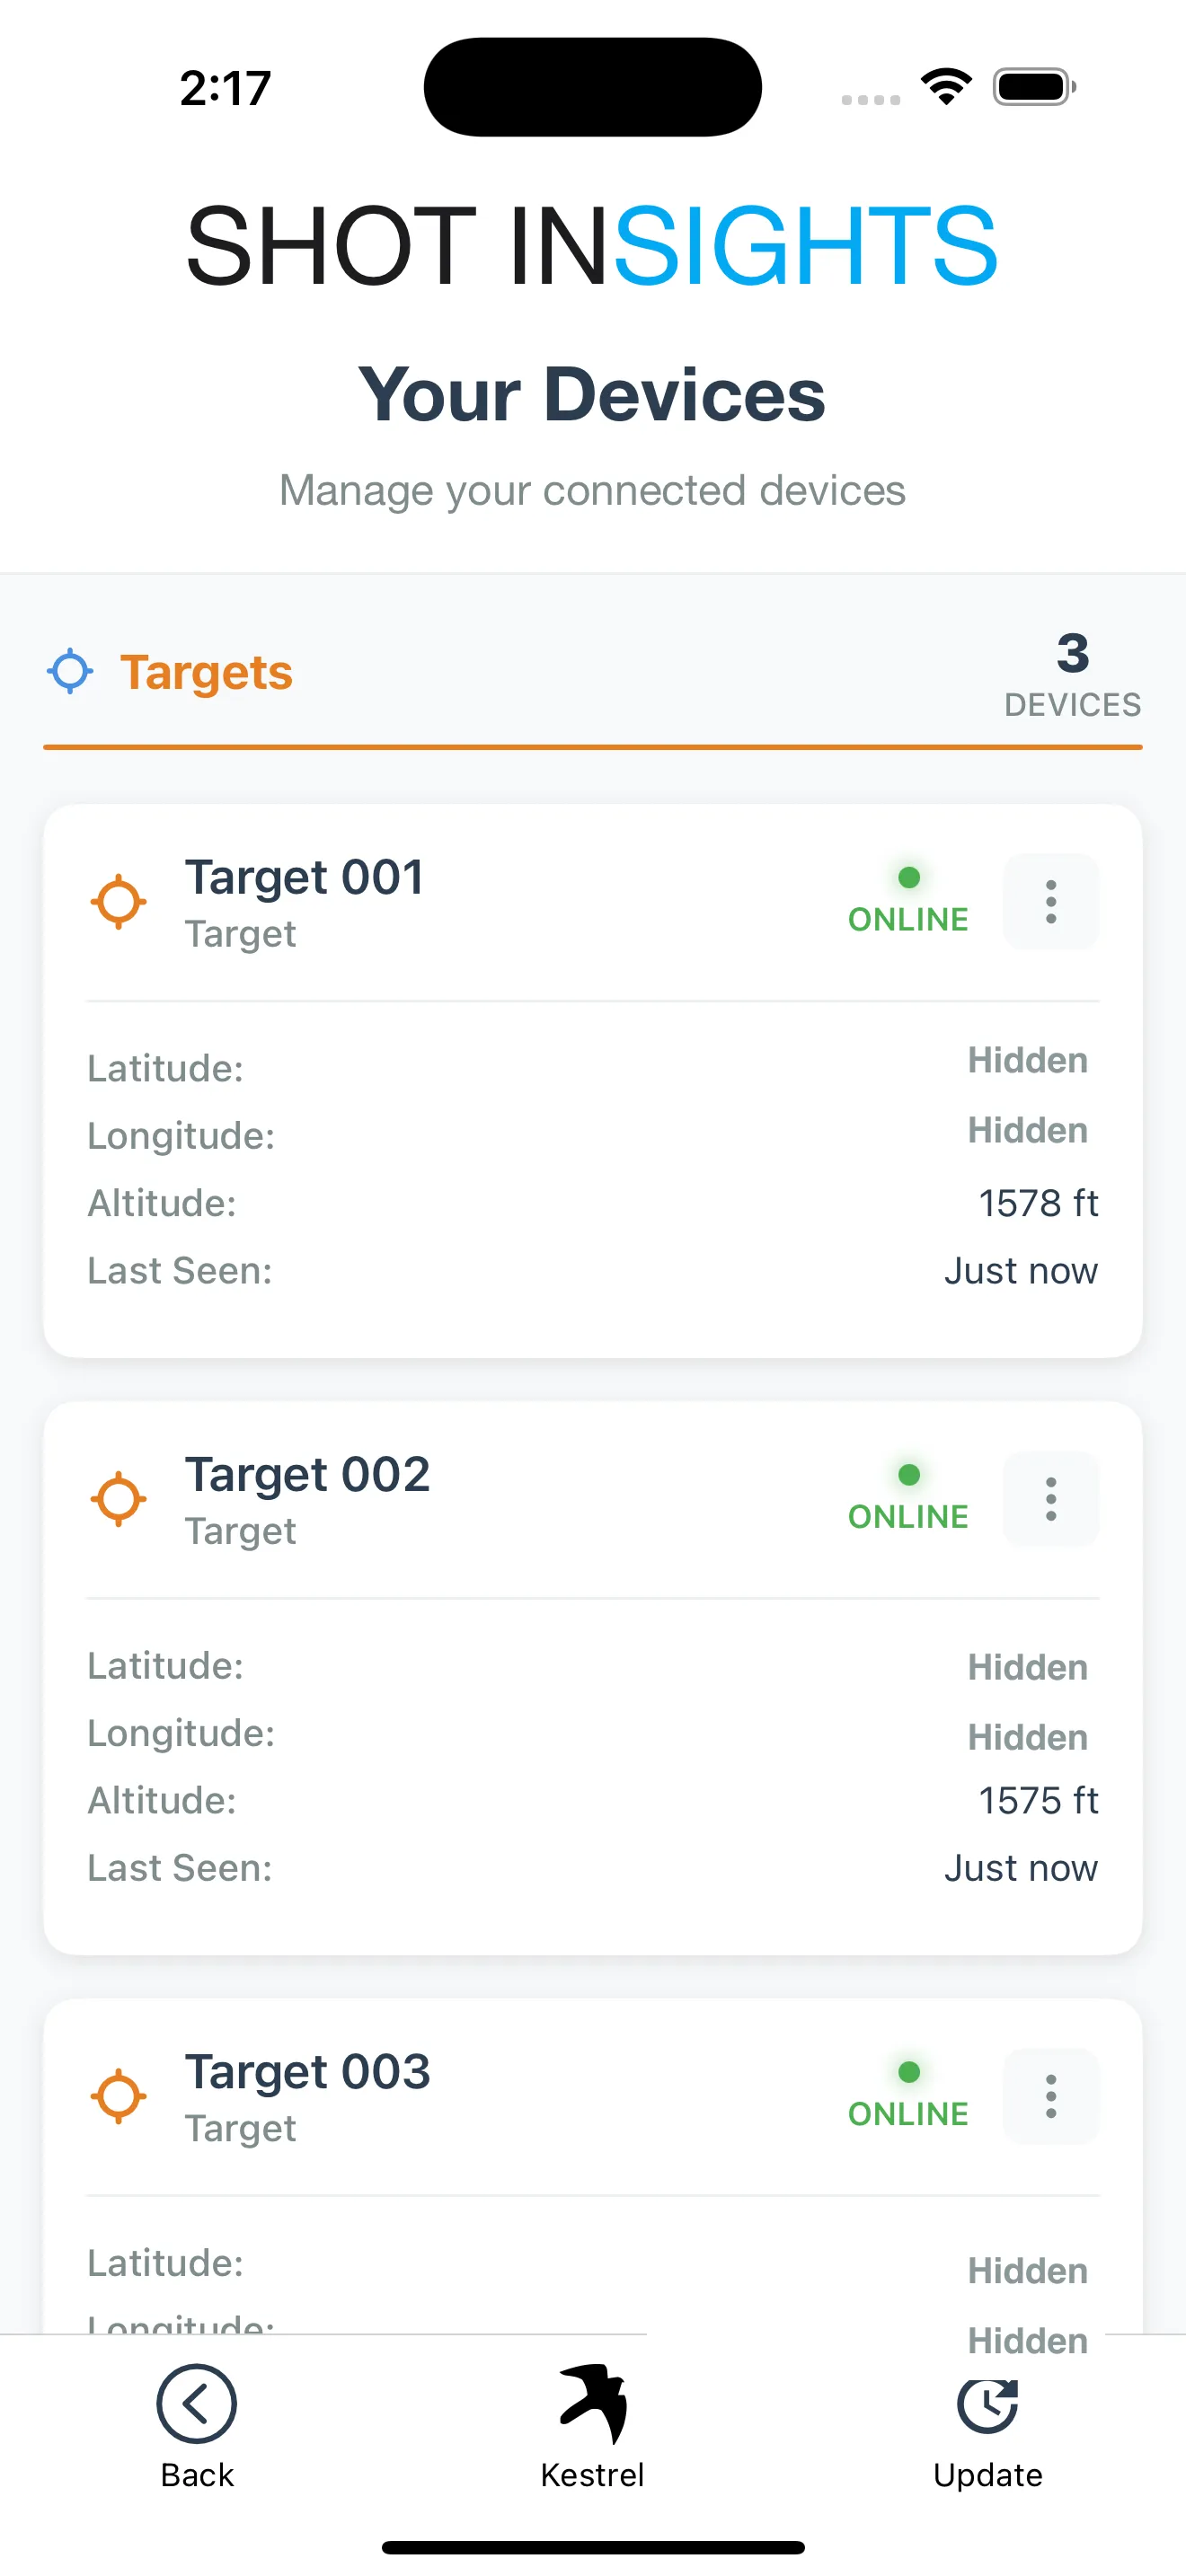
Once the hub is paired, use the app to confirm which targets are active and keep each one easy to identify during a session.
Add a target
Section titled “Add a target”- Attach the target mount to the steel in a protected spot.
- Slide the target device onto the mount to power it on.
- Wait while the red status light shows the target is getting GPS.
- Keep the hub connected in the app.
- When the target appears in the adoption prompt, select it, then tap Done.
- Check that the adopted target appears on the Range map.
Name targets clearly
Section titled “Name targets clearly”Use names that make sense from the firing line, especially if you rotate between multiple targets.
Good examples:
- Left plate
- Center plate
- KYL rack
- Practice target
Check target distance
Section titled “Check target distance”Once the hub and target have GPS, tap the target on the Range map to review distance and hold data. If you move a target, confirm the distance again before the next string of fire.
Good habits at the range
Section titled “Good habits at the range”- Rename targets before a session starts, not after impacts are already coming in.
- Use distinct names when several targets are similar in size.
- Confirm the target you select in the app matches the one you mounted downrange.
- Check target clearance after the steel swings so the device does not hit the hanger.
If a target does not appear or drops out during setup, continue with Troubleshooting.